
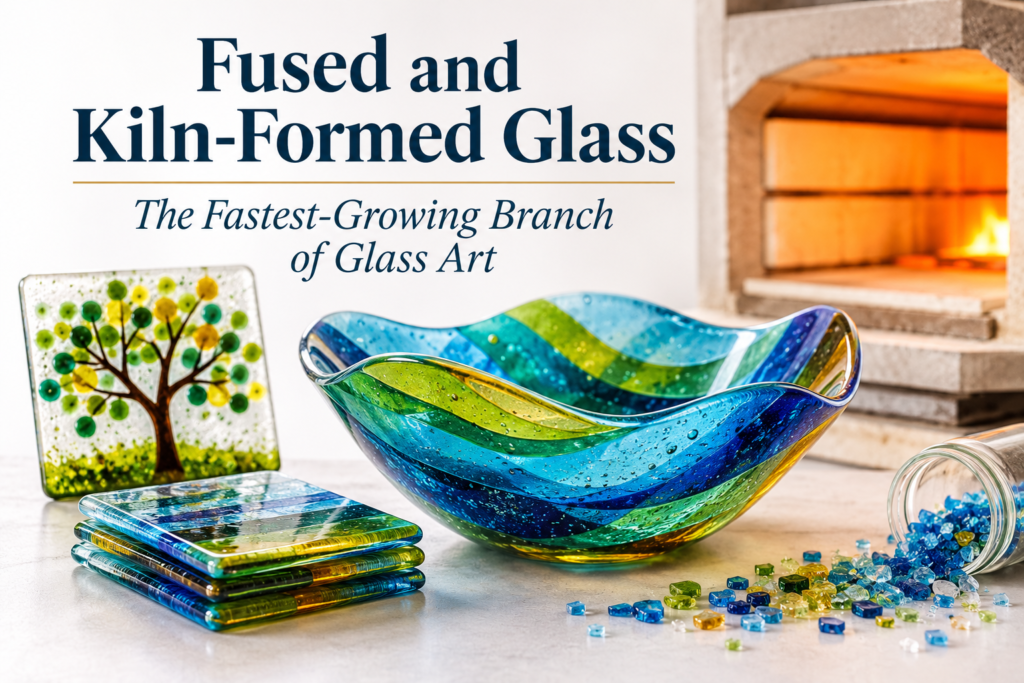
If you’ve bought a handmade dish, a set of coasters, or a decorative bowl at a craft fair in the last decade, there’s a good chance it was fused glass. Walk into almost any contemporary glass studio offering beginner classes and you’ll find a kiln before you find a soldering iron. Of every branch we’ve covered in this series, fusing has grown the fastest by a wide margin — and understanding why tells you something useful about where glass art as a whole is heading.
What Fusing Actually Is
Fused glass is built by stacking layers of compatible glass — sheets, frit (crushed glass granules), stringers (thin rods), or powder — and heating the stack in a kiln until the layers melt together into a single solid piece. No lead, no copper foil, no solder. The heat itself is the joining method.
There are a few recognized stages of fusing, and the terminology matters because it determines how your piece will actually look:
- Tack fuse (around 1300–1350°F) — pieces bond together but keep their individual shape and raised edges. Good for texture and dimension.
- Full fuse (around 1450–1500°F) — everything melts into one smooth, flat sheet. Edges and layers disappear into a single surface.
- Slump — a separately fired, already-fused flat piece is reheated at a lower temperature over or into a mold, draping it into a bowl, plate, or curved shape without fully re-melting the glass.
A single finished bowl often goes through two completely separate firings: one to fuse the flat design, a second, lower-temperature firing to slump it into shape.
Why COE Is the Rule You Cannot Break
We touched on this briefly in Week 3, but it deserves its own emphasis here because it’s the single most common reason beginner fused pieces fail.
COE stands for coefficient of expansion — how much a particular glass expands when heated and contracts when cooled. The two dominant standards in hobbyist fusing are COE 90 and COE 96. Mixing glass of different COEs in the same fused piece is the single most common way to ruin a project: the layers expand and contract at different rates, and the piece cracks — sometimes immediately on cooling, sometimes weeks or months later, which is the more heartbreaking version.
This is different from stained glass work, where you can combine any colors and textures freely because nothing gets melted together. Fusing demands you check and match compatibility before you ever turn the kiln on. Reputable glass suppliers label COE clearly for exactly this reason, and serious fusers stick to one system rather than mixing supplier lines.
The Kiln-Firing Schedule Nobody Warns Beginners About
The part of fusing that surprises nearly everyone coming from a painting or cutting background is the time. A full fuse project with a proper schedule typically runs 10 to 16 hours door-to-door, and the overwhelming majority of that time is the cooldown, not the heating.
This isn’t kiln inefficiency — it’s physics. Glass has to pass through its annealing range slowly, holding at a specific temperature for a calculated period based on the piece’s thickness, then cooling at a controlled rate well below the pace you’d get from just turning the kiln off. Skip or rush this step and the glass holds internal stress that causes it to crack days or weeks after it looked perfectly fine — sometimes while simply sitting on a shelf.
A simplified schedule for a modest fused piece might look like:
- Ramp up gradually to the fusing temperature (not instantly — thermal shock cracks cold glass)
- Hold briefly at peak temperature
- Drop quickly to just above the annealing point
- Anneal soak — hold steady for a calculated time based on thickness
- Cool slowly and steadily through the annealing range
- Cool more freely from there down to room temperature
Modern digital kiln controllers handle this automatically once programmed, which is a major reason fusing has become so much more accessible than it was a generation ago — you’re no longer manually babysitting temperature by eye and timer.
Why This Branch Has Grown So Fast
A few converging reasons explain fusing’s rapid growth compared to stained glass and reverse painting:
- No soldering, no lead. The safety conversation we covered in Week 2 simply doesn’t apply in the same way — no molten lead solder, no flux fumes. This alone makes fusing far more approachable for people working at home around family.
- Digital kilns did the hard part. A programmable controller removed the steepest part of the traditional learning curve. Twenty years ago, getting a firing schedule right required real expertise and failure. Now it’s largely a matter of following a published schedule for your kiln size and glass thickness.
- The output matches modern retail demand. Functional, food-safe glassware — dishes, coasters, jewelry, small decor — sells well at craft fairs and online shops in a way that large stained glass panels, which need a specific architectural context, simply don’t.
- Small kilns became affordable. Compact tabletop kilns designed for jewelry-scale fusing opened the craft to people without studio space, dramatically widening who can realistically try it.
- It photographs exceptionally well for social media, which matters more than it should, but does matter. A fused dish’s color layers and bubble patterns are immediately legible and attractive in a single still photo — unlike stained glass, which depends on backlighting to really land.
Common Beginner Mistakes
- Trapped air bubbles between layers, usually from stacking flat sheets without accounting for air pockets — often fixed by pre-firing a “tack fuse” layer before adding more glass on top, or by using thinner, well-cleaned sheets.
- Devitrification — a dull, frosty, or scummy surface haze that develops when glass sits too long at high temperature, or isn’t clean. Specialty sprays exist to reduce this, and clean glass (hand oils and dust are common culprits) matters more than people expect.
- Using incompatible COE glass, as above — the single most expensive mistake to make repeatedly.
- Rushing the anneal, producing pieces that look fine and then crack later, sometimes well after being sold or gifted.
- Ignoring mold release on slumping molds, which welds the glass to the mold and ruins both.
Sharing This Work
Fused glass is genuinely well-suited to visual platforms, more so than any other branch in this series so far:
- Time-lapse the kiln process. Even though you can’t film inside a closed kiln (and shouldn’t open it mid-firing), a before/after sequence — raw stacked glass, then the finished fused piece — communicates the transformation clearly.
- Show the layer-stacking stage. The “before” of a fused piece, with frit and sheet glass arranged like a flat mosaic, is often more visually interesting than people expect and photographs beautifully from directly above.
- Explain the invisible wait. Telling people a dish spent fourteen hours in a kiln, most of it slow cooling, reframes a $40 coaster set as something people understand is actually labor- and time-intensive — this directly supports pricing conversations with customers.
- Functional pieces invite functional use in photos. A fused dish photographed actually holding fruit or jewelry sells better than the same dish photographed alone on a white background.
Where This Is Headed
We’ve now covered the major branches of how glass art is physically made. Next week, we turn toward the people: a look at how glass art historically moved from craft guilds and cathedral workshops into fine art recognition, and what that history means for how working glass artists are treated by the art world today.